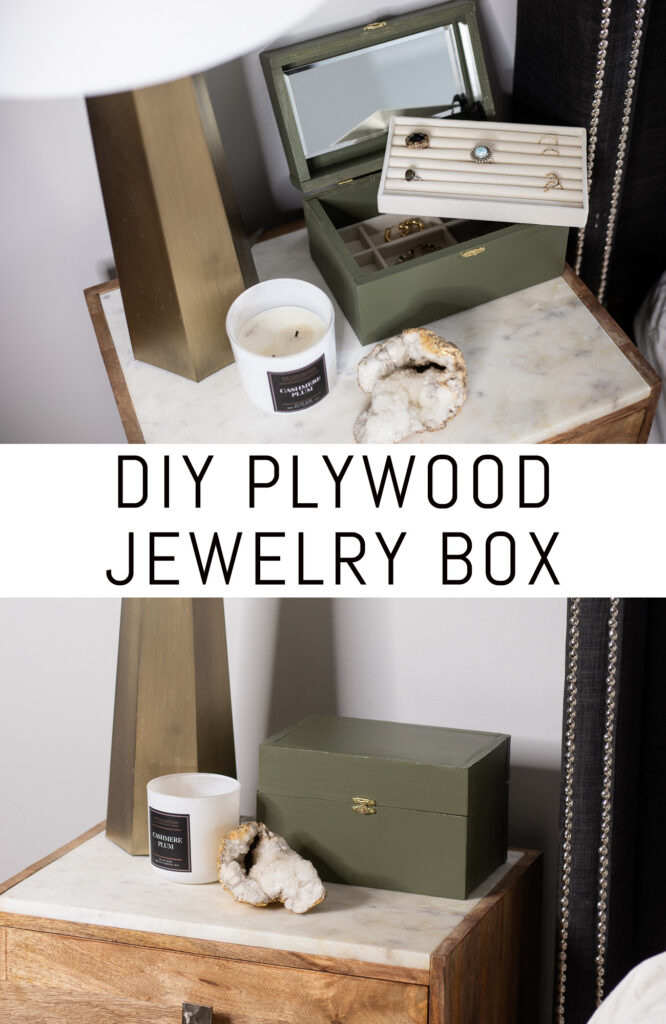
At the moment’s undertaking was a little bit of an experiment. I used to be making an attempt out a brand new software (the Kreg Jig Micro) and wished to experiment with thinner wooden, whereas additionally holding this undertaking budget-friendly. I made a decision to make a DIY plywood jewellery field.
Disclosure: This put up comprises affiliate hyperlinks. As an Amazon Affiliate I earn from qualifying purchases.
If you would like a better high quality jewellery field you can positively use increased finish lumber however I actually wished to experiment with thinner plywood.
Right here’s what you’ll want:
Lower Listing:
- (2) items of plywood reduce to eight 3/8″ lengthy x 5″ large (prime and backside)
- (2) reduce to 9 3/8″ lengthy x 3 1/2″ large (back and front of backside)
- (2) reduce to five″ lengthy x 3 1/2″ large (sides of backside)
- (2) reduce to five″ lengthy x 2″ large (sides of prime)
- (2) reduce to 9 3/8″ lengthy x 2″ large (back and front of prime)
Tutorial:
Step 1:
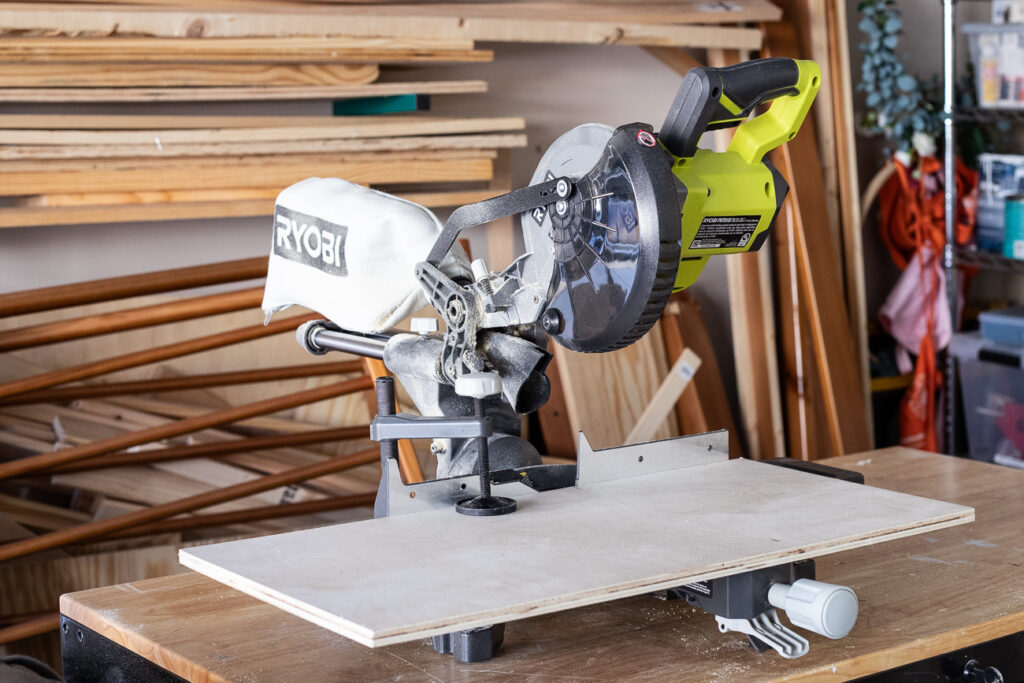
Lower your wooden to the required dimensions above. I used a miter noticed for this however a round noticed is okay too.
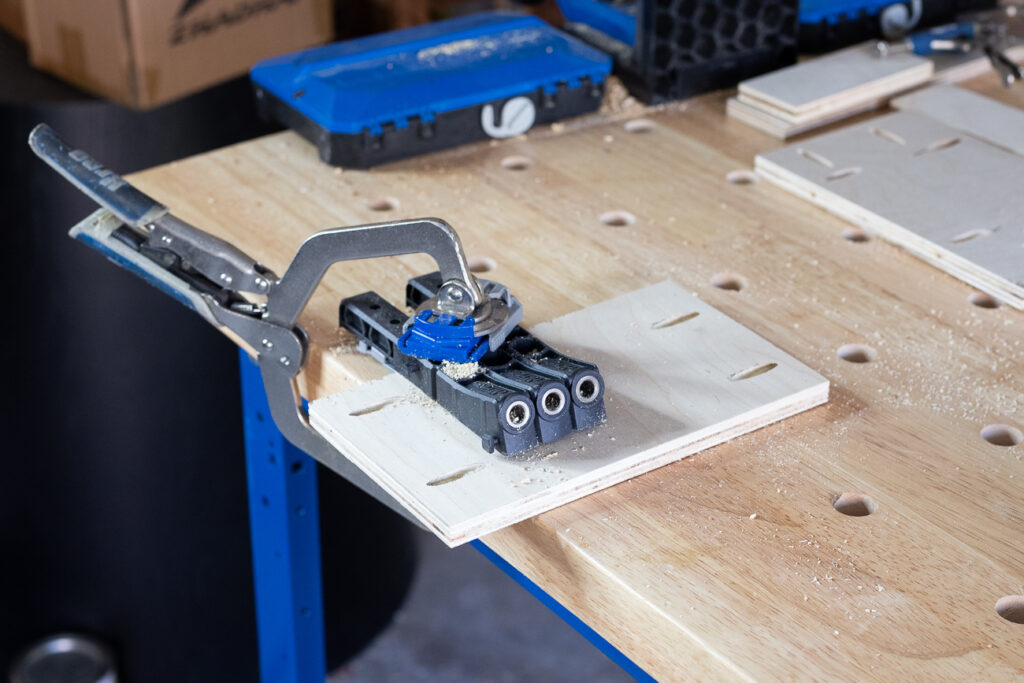
Step 2: Drill Pocket Holes
Use the Kreg Jig Micro (nice for thinner wooden) to drill 2 pocket holes alongside both sides of your prime and backside items. (8 3/8″ x 5″ items.)
Step 3: Sand
Sand every part clean.
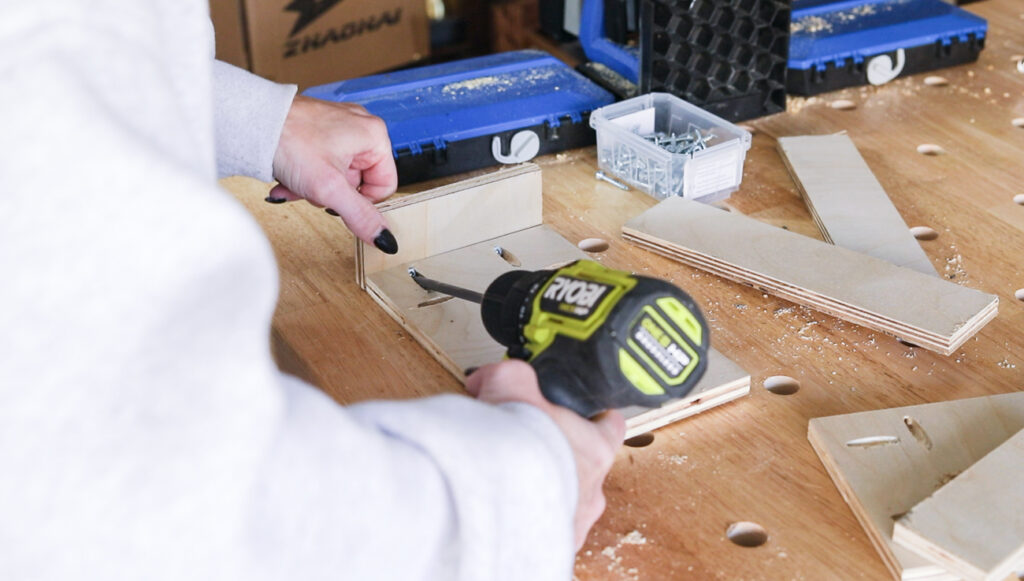
Step 4: Assemble Bins
Construct your containers by attaching the aspect items to the highest and backside items utilizing 3/4″ pocket gap screws. In case your aspect items aren’t comfortable sufficient, you possibly can reinforce these with 1″ brad nails. I didn’t connect the perimeters to one another with pocket gap screws as a result of the house would’ve been too slim to suit a drill.
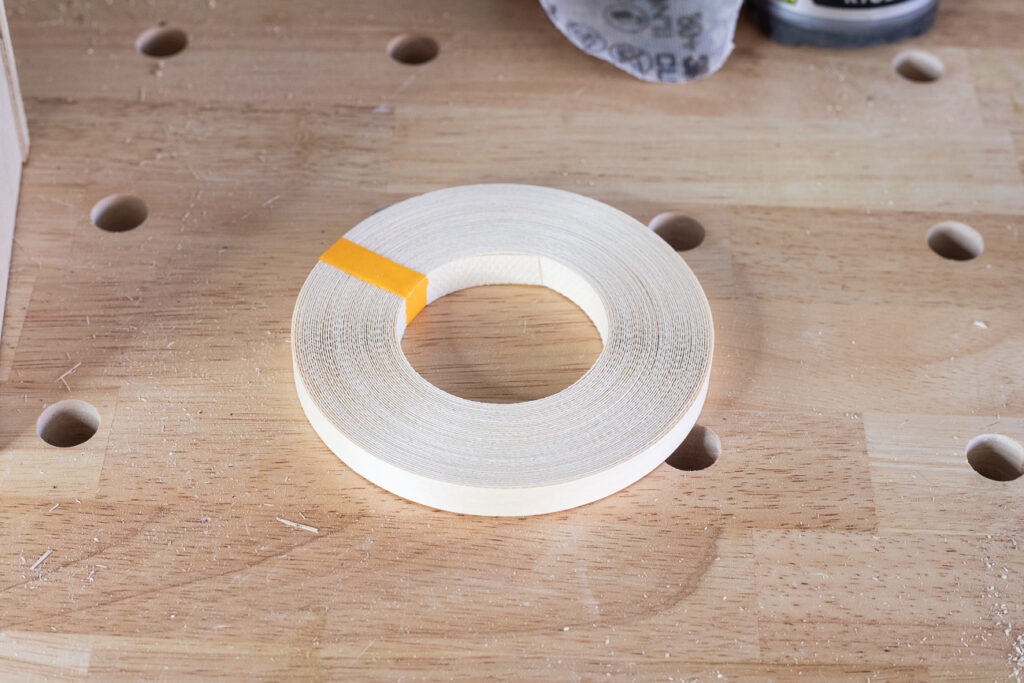
Step 5: Add Edge Banding
I ironed on edge banding to cover the uncovered edges of the plywood. You simply iron it on which prompts the glue after which you need to use a utility knife to trim the surplus and sand the perimeters clean after. It’s additionally paintable and stainable.
Step 6: Patch and Paint (or Stain)
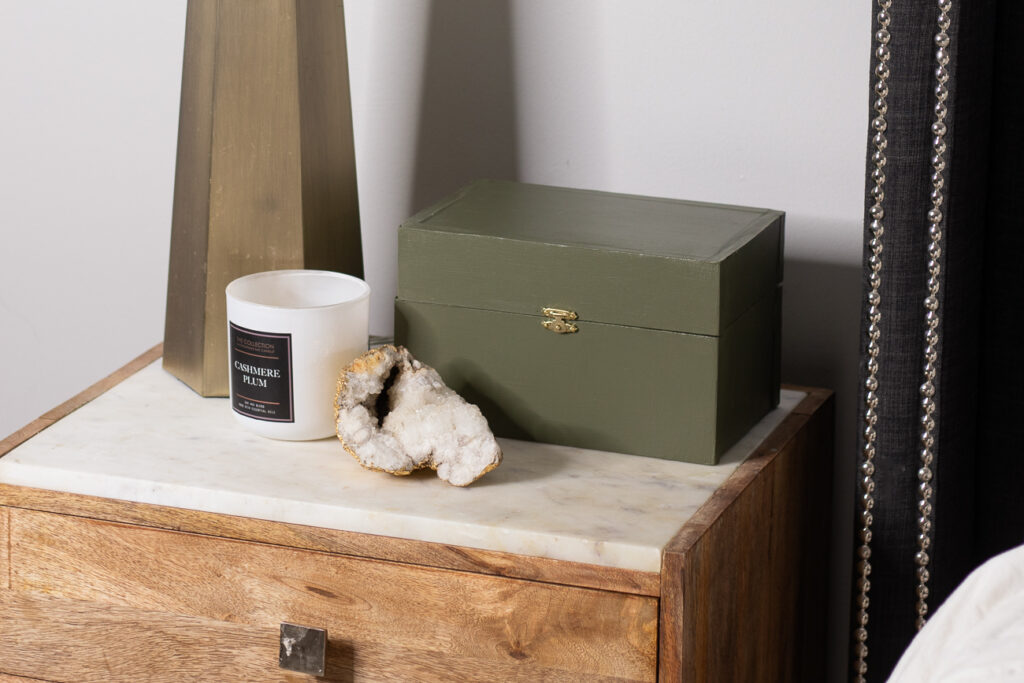
I used wooden filler to patch over any tear-out (my noticed blade should not have been sharp sufficient as a result of I did have some) in addition to uncovered pocket holes, and sanded it clean. Then I primed it and painted it inexperienced. Since I used to be utilizing plywood and never top quality wooden, I opted to color as an alternative of stain. Sadly I now not have the identify of this paint because the label is tousled nevertheless it’s Behr Marquee.
Step 7: Add {Hardware}
After my ultimate coat of paint had dried, I connected the hinges and latch. I discovered this jewellery field {hardware} on Amazon.
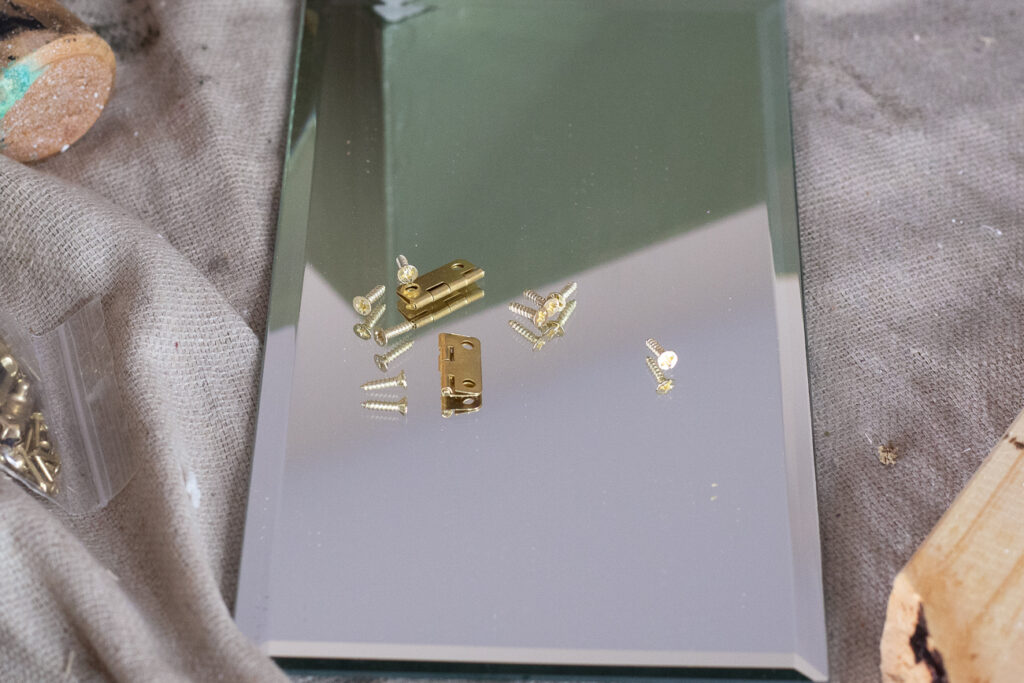
Step 8: Add Mirror
This step is completely non-compulsory however I added a small mirror I discovered on Amazon, though it didn’t match the size completely. I scorching glued it on however I like to recommend utilizing development adhesive in order for you a extra everlasting adhesion.
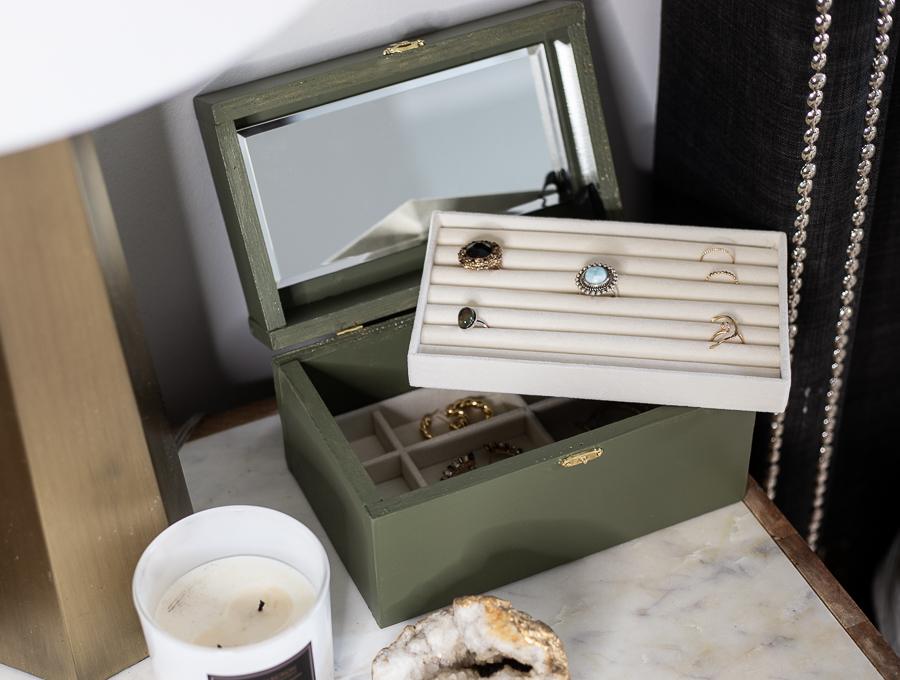
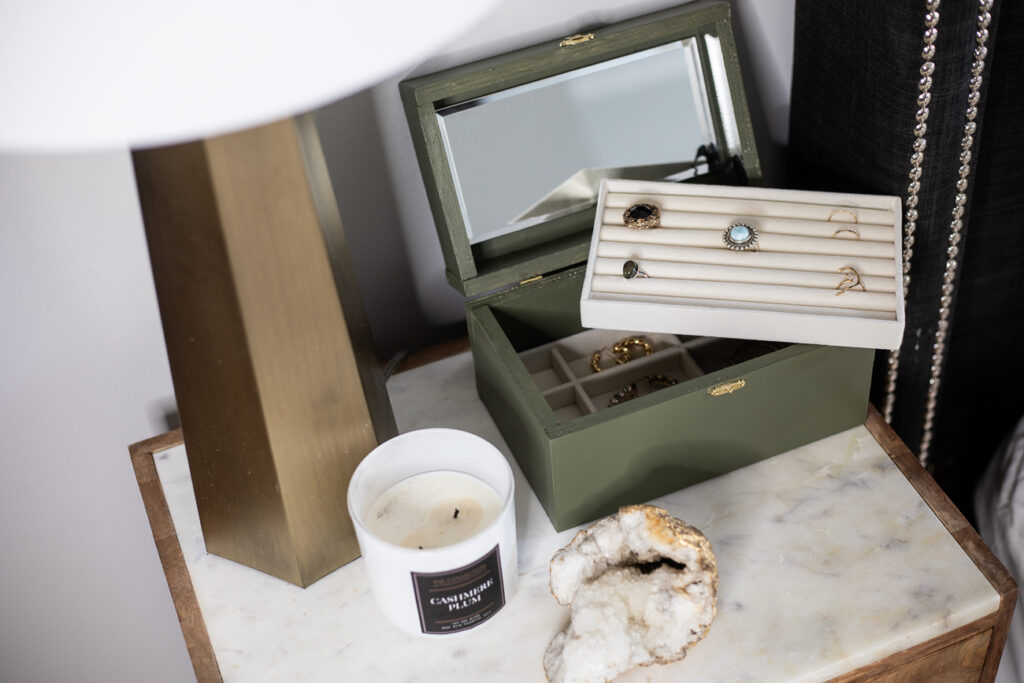
Step 9: Add Inserts
The ultimate step is so as to add your jewellery field inserts. I discovered these on Amazon and customised the scale of the jewellery field to suit them. I scorching glued a loop of ribbon to the underside of the highest tray to make it simpler to take away.
You possibly can take a look at my YouTube video tutorial for this undertaking here:
You Would possibly Additionally Like: