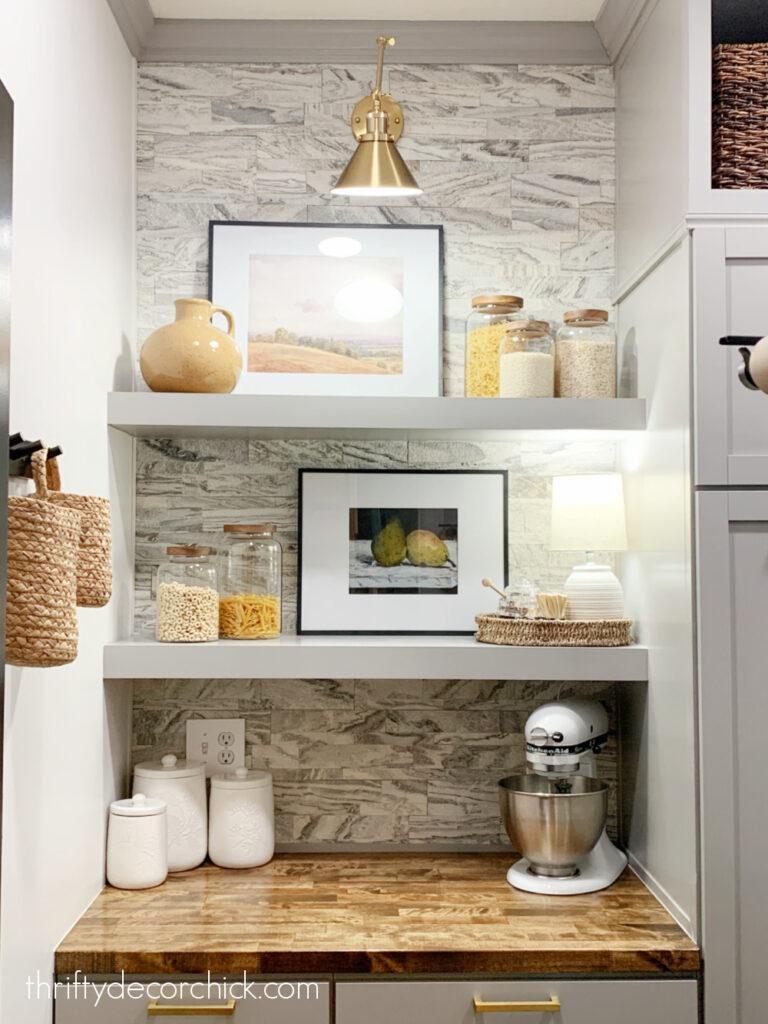

It features extra like a “butler’s” pantry now — we regularly maintain additional meals containers and dishes in right here after we entertain. It is nice to have the countertop to make use of our small home equipment too.
This peel and stick tile choice is extra practical than many I’ve seen — the feel feels and appears genuine. That was the issue although — it was simply SO tough to the contact. And if something rubbed towards it, little particles of the tile would come off.
NOT ultimate close to meals!
I believe this tile could be actually beautiful round an electrical hearth!
This tile got here in sections that you simply match collectively as you put in it:

This publish could comprise affiliate hyperlinks to your comfort.
I’ll earn a small fee when you make a purchase order via hyperlinks.
Due to this form, the set up was truly not dangerous! For those who had a much bigger or wider area, it could be even simpler.
The adhesive on these suckers was thick and VERY sticky. There are quite a lot of peel and stick choices that are not as heavy responsibility as ours — many I’ve seen are extra of a skinny plastic that may be eliminated comparatively simply.
There have been a number of sections of this tile that did not lay utterly flat, however it was minor. Just a few weeks in the past, I took benefit of a type of areas and began pulling to see how simply it could come off of the drywall.
Spoiler alert: it did not come off simply. 🙂
The ethical of this story — ensure you REALLY LOVE the peel and stick tile you are putting in!
Lastly I made a decision to go for it — I grabbed a scraper with a skinny, flat edge and began tapping it below the tile:

This concerned quite a lot of hammering to scooch the scraper below the tile, after which rocking it up so the tile would come away from the wall.
The top outcome was a catastrophe, however not fairly as dangerous as I assumed it could be! I figured large chunks of drywall would come off with the sticky tile, however it was solely the highest paper layer:

The black splotches have been the residual adhesive from the tiles. After I was achieved with every part, I used the scraper device throughout these components to get as a lot extra off as doable.
I initially deliberate to make use of a warmth gun to take away this product, however I’ve little question there would nonetheless be some residual adhesive on the wall.

However then I began making another adjustments to the room (that I’ll share very quickly!), and realized the tile I used to be planning to make use of was going to be manner too busy. Plus, that leftover adhesive would not have been an excellent base for tile — it would not have laid flat towards the wall.
This ended up saving me a ton of cash! These are so fairly, however costly for such a small tile.
As a substitute, I made a decision on a tongue and groove search for the backsplash. The items match towards one another on the wall:

As a result of these are good and thick, I knew they might conceal any inconsistencies on the broken drywall.
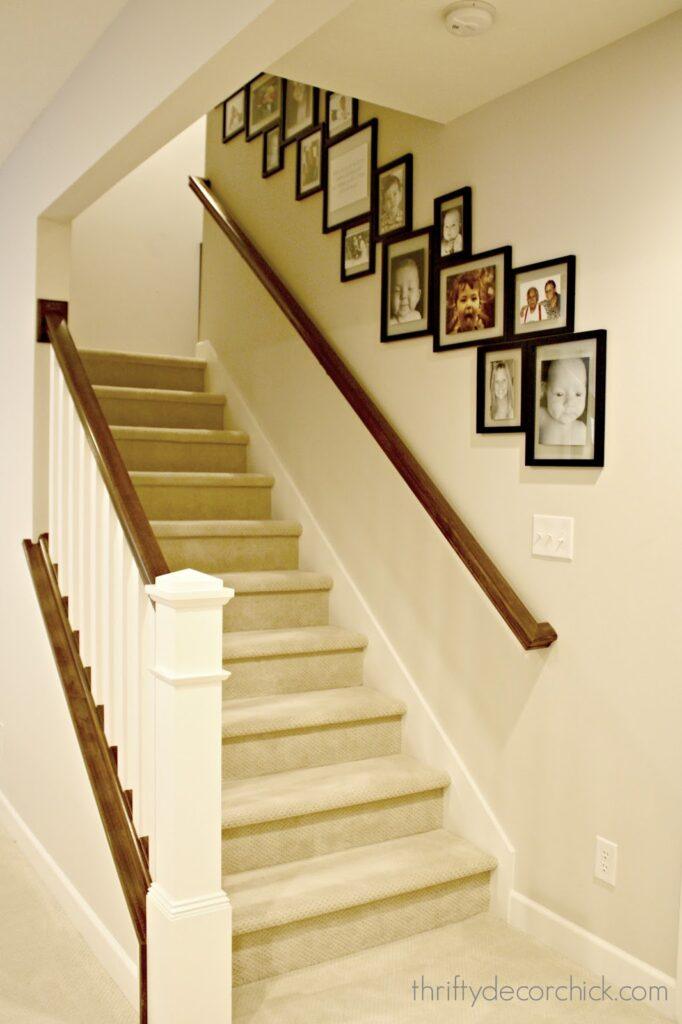
Additionally, I put in an analogous planked look across the different aspect of the room after I first remodeled this area:

So it tied in superbly!

I LOVE the look! I had some leftover from that challenge, so I solely needed to buy six boards for this little wall.
Tip: The primed variations of those boards are less expensive than the painted choice!
Often I wait till after set up to color most of my wooden initiatives, however with these notches I discover it a lot simpler to color beforehand:

I began the set up on the center of the wall and labored from there. My wall was nearly the right width to suit 9 vertical boards, however I used to be going to have a bit of an excessive amount of additional area on all sides
So as a substitute of butting these proper up to one another, I discovered the right spacing (utilizing some scrap wooden and a line of brad nails) so that they match completely throughout:

Utilizing my makeshift spacer, I nailed in every board on the backside first. Then I moved the spacer as much as the highest and secured it with my nail gun, ensuring each bit was stage as I went:

After set up, I stuffed the nail holes, caulked alongside the sides and gave every thing one remaining coat of paint:

Have a look at these matching traces prime to backside! 😍 It appears like they have been put in behind the inbuilt cabinets, however I needed to do every portion individually. (Ranging from the center and maintaining the spacing constant was key.)

They’re such nice high quality, and are so rather more substantial than what we had earlier than.

I will be sharing the complete reveal of this little makeover shortly! Only a couple extra little initiatives to complete up.
We love how this planked backsplash turned out! It is a traditional, timeless look and calms the room a bit. Have you ever used this tongue and groove product in your house?