By Felipe — Automotive DIY and Vehicle Electronics Enthusiast
Introduction
Older vehicles are often reliable, paid off, and mechanically simple — but they lack modern safety features. One of the most noticeable gaps is rear visibility. Blind spots behind older cars can be significant, especially in sedans, SUVs, and pickup trucks manufactured before backup cameras became standard. In fact, the U.S. National Highway Traffic Safety Administration (NHTSA) estimates that over 210 fatalities and 15,000 injuries occur each year due to backover incidents, many involving children or elderly pedestrians.
Learning how to install a backup camera on an old car is one of the most practical upgrades you can make to improve safety and confidence when reversing. The good news is that modern camera kits are affordable, widely compatible, and designed for DIY installation — even for vehicles built decades ago.
This guide is different from most tutorials because it focuses on real-world installation details, common mistakes, and the subtle technical decisions that determine whether your system works reliably for years or fails after the first rainy season. Whether you’re working on a 1998 sedan, a 2005 pickup, or an early SUV, you’ll find clear, step-by-step instructions grounded in hands-on experience.
Why Installing a Backup Camera on an Older Vehicle Is Worth It
Safety improvements supported by real data
Backup cameras became mandatory on new passenger vehicles in the United States in 2018 due to proven safety benefits. According to the Insurance Institute for Highway Safety (IIHS):
- Backup cameras reduce backover crashes by approximately 17%
- Combined with parking sensors, reductions can reach up to 78%
- Older vehicles without cameras have a significantly higher risk of low-speed reversing incidents
While exact percentages vary by vehicle type and driver behavior, the trend is consistent across studies: improved rear visibility reduces risk.
Convenience and vehicle longevity
Installing a camera is not just about safety. It also helps:
- Prevent minor collisions and repair costs
- Make parking easier in tight urban environments
- Increase resale value of older vehicles
- Extend usability of a reliable car without buying a new one
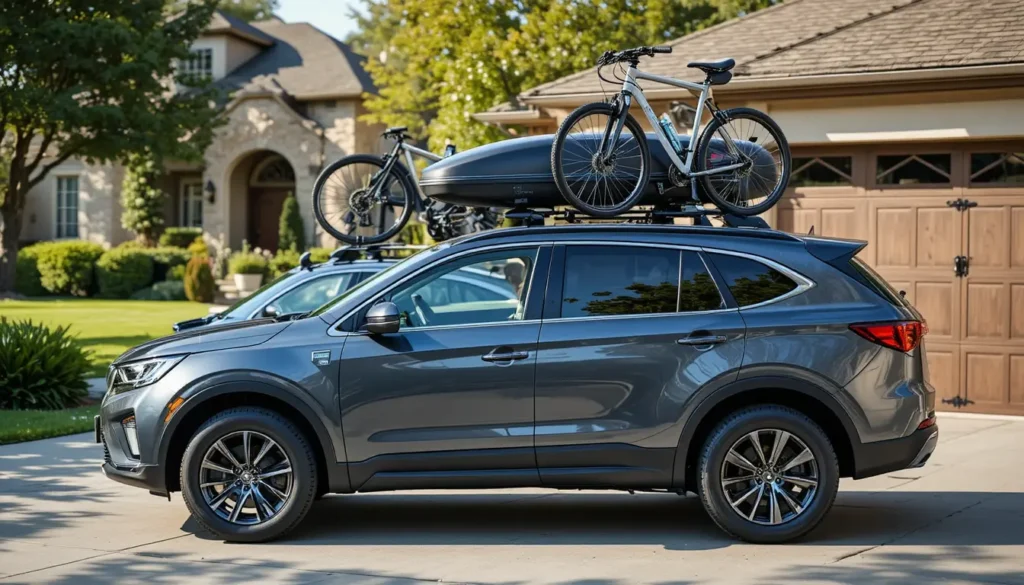
If you regularly transport gear — for example, bikes or cargo mounted using best roof racks for suvs without side rails — rear visibility becomes even more important because accessories can obstruct your view.
Types of Backup Camera Systems for Old Cars
Choosing the right system is the most overlooked step. Compatibility matters more than brand name.
Wired vs. Wireless Backup Cameras
Wired systems (recommended for reliability)
Pros:
- Stable video signal
- No interference
- Better performance in cold or wet climates
- Lower long-term failure rate
Cons:
- Requires routing a video cable through the vehicle
Wireless systems (easier installation)
Pros:
- Faster installation
- Fewer cables
Cons:
- Signal dropouts possible
- Performance affected by metal body panels
- May lag in older vehicles
Expert insight:
Most professional installers still recommend wired systems because they are more dependable over time.
License Plate vs. Flush-Mount Cameras
License Plate Mount
Best for:
- Beginners
- Quick installation
- Non-permanent setups
Flush Mount
Best for:
- Factory-style appearance
- Long-term installation
- Vehicles with accessible trunk panels
Tools and Materials You’ll Need
Having the right tools prevents frustration and electrical problems later.
Essential tools
- Screwdriver set
- Wire stripper and crimping tool
- Electrical tape or heat-shrink tubing
- Drill (for flush-mount cameras)
- Trim removal tools
- Multimeter or test light
Recommended materials
- Backup camera kit
- Fuse tap (for safe power connection)
- Zip ties
- Silicone sealant
- Electrical connectors
Important: Avoid twisting wires together without proper connectors. Loose connections are a leading cause of intermittent camera failures.
Step-by-Step: How to Install a Backup Camera on an Old Car
This process applies to most vehicles made between the mid-1990s and early 2010s.
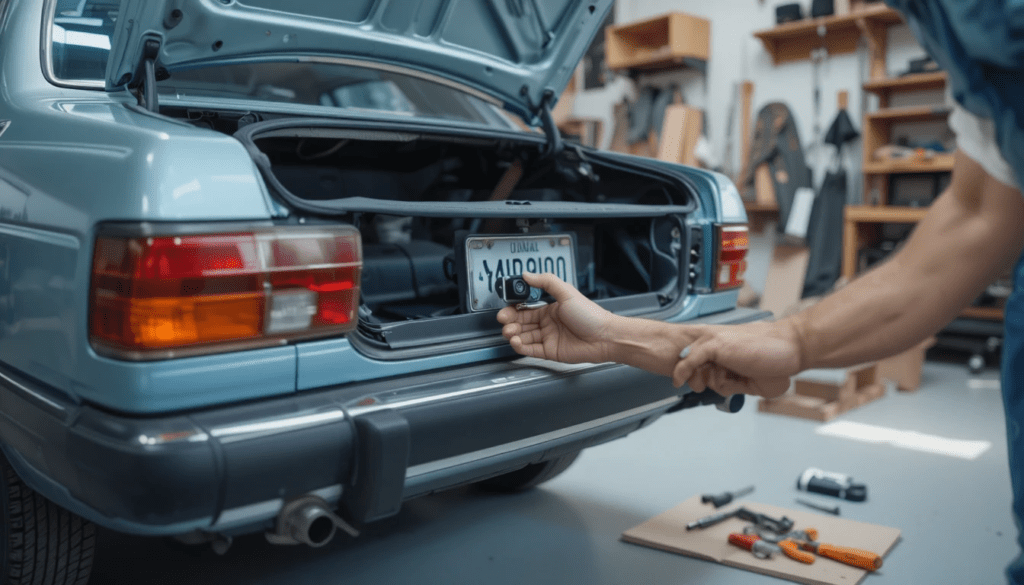
Step 1: Choose the Camera Location
Most installations use the license plate area.
Look for:
- Centered alignment
- Clear rear visibility
- Protection from road debris
- Access to interior wiring
Tip:
Mount the camera slightly above the plate if possible. Lower placements collect more dirt and water.
Step 2: Mount the Camera Securely
Attach the camera using:
- License plate screws
- Provided mounting bracket
- Drill (for permanent installations)
After mounting:
Seal any drilled holes using silicone to prevent water intrusion.
Water leaks are one of the most common long-term installation problems.
Step 3: Connect the Camera to the Reverse Light Power
This is the step that activates the camera automatically when shifting into reverse.
Locate:
- Reverse light wiring inside the trunk or tailgate
Use a multimeter to identify:
- Positive wire (12V when in reverse)
- Ground wire
Then:
- Connect the camera power wire to the reverse light positive
- Connect the ground wire to chassis metal
Why the Reverse Light Circuit Matters
This ensures the camera turns on only when needed.
It also prevents:
- Battery drain
- Overheating
- Electrical interference
Step 4: Route the Video Cable to the Dashboard
This step requires patience.
Route the cable:
- Along factory wiring channels
- Under trim panels
- Through door sills
- Into the dashboard area
Secure the cable using zip ties.
Avoid:
- Sharp edges
- Moving parts
- High-heat areas
Step 5: Install the Display Monitor
Most systems use one of three display types.
Rearview mirror monitor
- Replaces existing mirror
- Clean appearance
- Easy wiring
Dashboard screen
- Larger display
- Easier visibility
Aftermarket stereo screen
- Integrated look
- More advanced features
Connect:
- Video cable from camera
- Power wire to ignition circuit
Step 6: Test the System Before Reassembly
Before putting trim panels back:
- Turn ignition on
- Shift into reverse
- Confirm video signal
- Check camera angle
- Verify night visibility
Adjust alignment if necessary.
Common Mistakes When Installing a Backup Camera
These issues cause most failures.
Using poor electrical connections
Loose wiring leads to:
- Flickering image
- Camera shutdown
- Electrical shorts
Always use:
- Crimp connectors
- Heat shrink tubing
Running cables near interference sources
Avoid routing cables near:
- Alternator wiring
- Ignition coils
- High-current power lines
These can cause video noise.
Skipping waterproof sealing
Water damage is a major risk.
Always seal:
- Drilled holes
- Cable entry points
In My Experience Installing Backup Cameras on Older Vehicles
I’ve installed backup camera systems on vehicles ranging from a 1997 compact sedan to a 2006 pickup truck used for daily hauling. One pattern became clear quickly: most problems appear months later, not during installation.
In my experience, the two decisions that determine long-term reliability are:
- Using proper electrical connectors instead of quick splices
- Taking extra time to secure and protect the wiring path
I’ve found that installations that took an additional 20–30 minutes to route cables carefully lasted years without issues, while rushed installs often developed signal failures after exposure to moisture or vibration.
Another overlooked detail is camera angle. Many DIY installers aim the camera too high, reducing visibility of obstacles close to the bumper. The ideal angle shows:
- The ground directly behind the vehicle
- The horizon line near the top of the screen
This adjustment alone significantly improves usability.
How Much Does It Cost to Install a Backup Camera?
Typical price ranges:
DIY installation:
- Camera kit: $30–$120
- Tools and supplies: $10–$40
- Total: $40–$160
Professional installation:
- Labor: $100–$250
- Total: $150–$350
Costs vary depending on:
- Vehicle type
- Wiring complexity
- Display integration
[VERIFY: Average installation cost ranges by region or country]
When You Should Consider Professional Installation
DIY installation is practical in most cases, but professional help may be better if:
- Your vehicle has complex wiring
- You plan to integrate with factory infotainment
- You are uncomfortable working with electrical systems
- Your vehicle has limited access panels
Maintenance Tips for Long-Term Reliability
Backup cameras require minimal maintenance, but small steps extend lifespan.
Check periodically
- Lens cleanliness
- Wiring condition
- Mount stability
Clean the lens
Use:
- Microfiber cloth
- Mild cleaner
Avoid:
- Abrasive materials
Key Takeaways
- Installing a backup camera is one of the most effective safety upgrades for older vehicles
- Wired systems provide the most reliable performance over time
- Proper wiring and waterproof sealing determine long-term success
- Most installations can be completed in 1–3 hours with basic tools
- Careful cable routing prevents future electrical problems
Conclusion
Upgrading an older vehicle with a backup camera is a practical, affordable improvement that delivers immediate safety benefits. Unlike cosmetic upgrades, this modification directly reduces risk and improves everyday usability — especially in crowded parking areas or when visibility is limited.
The most important recommendation is simple: prioritize installation quality over speed. Take the extra time to secure connections, protect wiring, and test the system thoroughly. Those small decisions determine whether your camera works reliably for years or becomes another accessory that fails prematurely.
For most drivers, this upgrade represents one of the highest-value safety improvements available without replacing the vehicle.
FAQ: How to Install a Backup Camera on an Old Car
Can I install a backup camera without drilling?
Yes. Many license plate-mounted cameras use existing screws and require no drilling. However, flush-mount models typically require a small hole.
Do backup cameras work on very old cars?
Yes. Backup cameras can be installed on vehicles from the 1990s or earlier because they operate independently of the vehicle’s computer system.
How long does installation take?
Most DIY installations take:
1 to 3 hours
Time depends on:
- Vehicle size
- Wiring access
- Experience level
Is a wireless backup camera reliable?
Wireless cameras can work well, but they are more prone to signal interference and lag. Wired systems are generally more dependable.
Will installing a backup camera drain my battery?
No. When connected to the reverse light circuit, the camera only receives power when the vehicle is in reverse.
Can I connect the camera to my existing stereo?
Yes, if the stereo has a video input labeled:
- Rear camera
- AV input
- RCA input
Otherwise, a separate monitor is required.