Author: Felipe — licensed plumber with 15 years of hands-on residential and commercial plumbing experience.
A Sloan toilet not flushing is usually loud when it works and frustratingly silent when it doesn’t. You press the handle or push the button, and nothing happens — or the flush is weak, delayed, or incomplete. In commercial-style bathrooms and some modern homes, Sloan flushometers rely on water pressure and internal valves, not a tank. That means when one small part fails, the entire flush stops.
In my years of working on homes and small businesses, I’ve seen this problem dozens of times. The good news is that most issues come down to a clogged diaphragm, low water pressure, or a stuck control stop — all fixable with basic tools. This guide walks you through the fixes from fastest and cheapest to more involved repairs.
Quick Answer: Why Your Sloan Toilet Isn’t Flushing
If your Sloan toilet is not flushing, the most common causes are a partially closed water supply valve, clogged diaphragm, or low water pressure. Start by checking the control stop (shutoff valve) and cleaning the flushometer diaphragm. Most repairs take 10–30 minutes and cost under $40.
Tools and Materials You’ll Need Before Starting
Tools needed
- Flathead screwdriver — $5–$10
- Adjustable wrench — $10–$20
- Channel-lock pliers — $15–$25
- Small bucket or towel — $0–$10
- Toothbrush or small nylon brush — $2–$5
- Safety gloves — $5–$10
Skill level required: Beginner to intermediate DIY
Materials needed
- Sloan diaphragm repair kit — $15–$35
- Replacement handle assembly (if needed) — $20–$50
- Vinegar or descaling solution — $3–$10
- Teflon (PTFE) tape — $2–$5
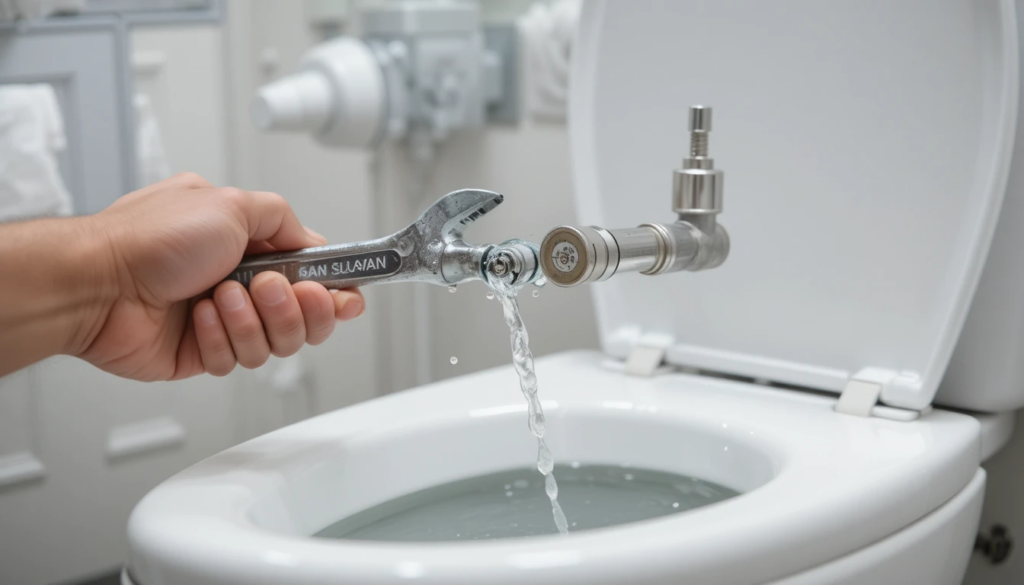
Step 1 — Check the Control Stop (Water Supply Valve)
This is the first thing I check on every service call. It takes less than a minute, and it solves the problem surprisingly often.
The control stop is the small shutoff valve on the pipe feeding the flushometer. If it’s partially closed, the toilet won’t get enough pressure to flush properly.
How to check it
- Locate the control stop on the wall behind the toilet.
- Insert a flathead screwdriver into the adjustment slot.
- Turn the screw counterclockwise slowly.
- Flush the toilet after each small adjustment.
- Stop once the flush becomes strong and consistent.
Important:
Don’t open the valve all the way too fast. Sudden high pressure can damage the diaphragm.
Step 2 — Make Sure the Handle or Sensor Is Working
A broken handle or sensor is another common reason a Sloan unit won’t flush. I’ve replaced dozens of these after normal wear and tear.
Signs of a handle problem
- Handle feels loose or stuck
- No resistance when pressed
- Flush works only when pressed very hard
- Toilet flushes randomly (sensor models)
How to test the handle
- Turn off the water using the control stop.
- Remove the handle assembly using a wrench.
- Inspect the actuator rod and spring inside.
- Replace the handle if parts are worn or broken.
- Turn the water back on and test the flush.
If your unit uses an automatic sensor, check the battery compartment first. Weak batteries are a frequent cause.
Typical battery life:
- 2–5 years depending on usage
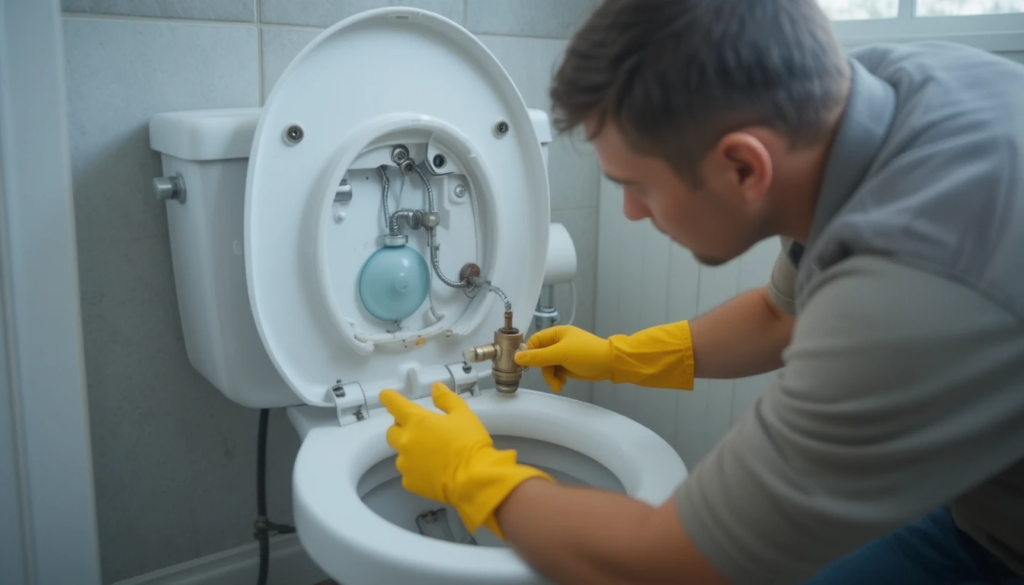
Step 3 — Clean or Replace the Diaphragm (Most Common Fix)
Here’s the thing: the diaphragm is the heart of a Sloan flushometer. It controls how water flows during a flush. When it gets clogged with debris or mineral buildup, the toilet stops flushing correctly.
After fixing this in multiple houses and restaurants, I can tell you this is the single most common repair.
Symptoms of a clogged diaphragm
- Toilet won’t flush at all
- Weak or incomplete flush
- Continuous running water
- Delayed flush response
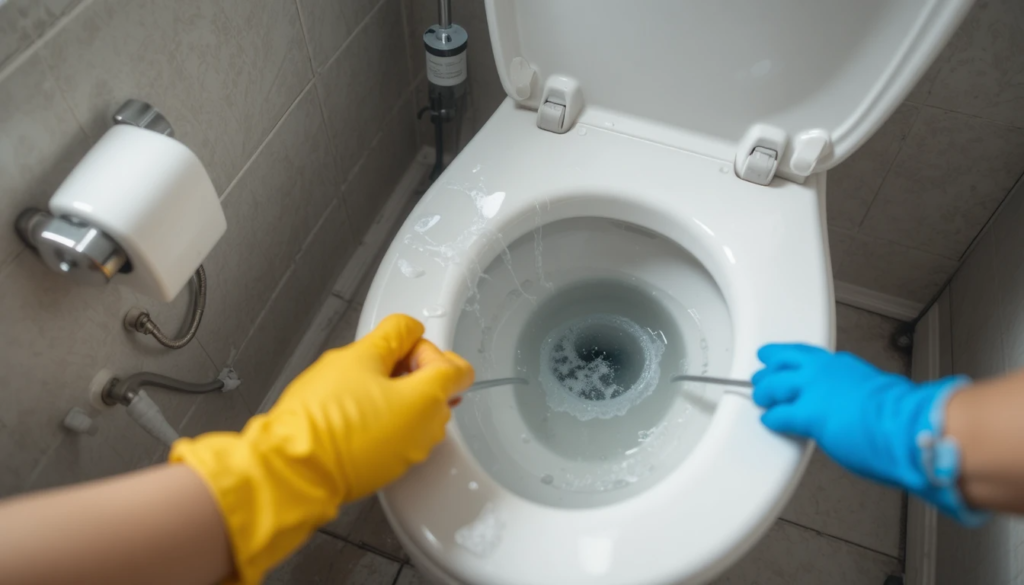
How to clean the diaphragm
- Turn off the water supply at the control stop.
- Flush the toilet to release pressure.
- Use a wrench to remove the flushometer cover.
- Carefully lift out the diaphragm assembly.
- Rinse the diaphragm under running water.
- Use a toothbrush to remove debris or mineral buildup.
- Reinstall the diaphragm and tighten the cover.
- Turn the water back on slowly.
If the rubber looks cracked, stiff, or warped, replace it instead of cleaning it.
Time required:
15–30 minutes
Step 4 — Check for Low Water Pressure
Sloan toilets depend entirely on water pressure. Unlike tank toilets, they don’t store water — they use pressure directly from the supply line.
If pressure drops, flushing performance drops immediately.
Signs of low pressure
- Weak flush in multiple fixtures
- Slow sink or shower flow
- Toilet flushes inconsistently
- Gurgling sounds in pipes
How to test pressure quickly
- Turn on a nearby faucet.
- Observe the flow strength.
- Flush the toilet while the faucet is running.
- Watch for a noticeable pressure drop.
Normal residential pressure:
- 40–80 PSI
- [VERIFY: local plumbing code minimum pressure requirement]
Common causes
- Partially closed main shutoff valve
- Clogged supply line
- Pressure regulator failure
- Municipal supply issue
If pressure is low throughout the house, this is usually not a toilet problem — it’s a system problem.
Call a plumber if:
- Pressure is below 40 PSI
- Multiple fixtures are affected
- You suspect a regulator issue
Step 5 — Inspect the Vacuum Breaker
The vacuum breaker prevents dirty water from flowing back into the clean water supply. When it fails, flushing can become weak or inconsistent.
I typically see this issue in older installations or high-use bathrooms.
Signs of a vacuum breaker problem
- Water leaking near the flushometer
- Weak flush
- Hissing sound during flush
- Visible cracks in the rubber tube
Replacement steps
- Turn off the water supply.
- Disconnect the vacuum breaker tube.
- Install a new vacuum breaker assembly.
- Tighten connections securely.
- Turn the water back on and test.
Typical replacement time:
20–40 minutes
Step 6 — Check for Supply Line Blockages
Sediment, rust, or mineral buildup can block the water path inside the flushometer. This is especially common in older homes with galvanized pipes.
I’ve seen toilets completely stop flushing because of a pea-sized chunk of debris lodged in the inlet screen.
How to inspect the inlet screen
- Shut off the control stop valve.
- Remove the flushometer cap.
- Locate the inlet screen inside the valve body.
- Remove the screen carefully.
- Rinse it under running water.
- Reinstall the screen and reassemble the valve.
Cost Estimate: DIY vs Professional Repair
| Repair Type | DIY Cost | Professional Cost |
|---|---|---|
| Adjust control stop | $0 | $75–$150 |
| Replace diaphragm | $15–$35 | $120–$250 |
| Replace handle | $20–$50 | $140–$280 |
| Replace vacuum breaker | $25–$60 | $150–$300 |
| Diagnose low pressure | $0–$20 | $150–$400 |
Factors affecting cost
- Region and labor rates
- Brand and model compatibility
- Severity of mineral buildup
- Accessibility of plumbing
[VERIFY: check current US pricing]
When to Call a Professional Plumber
Call a licensed plumber if you notice:
- Repeated flushing failures after replacing parts
- Water pressure below code requirements
- Leaks inside walls or ceilings
- Cracked flushometer body
- Commercial restroom systems with multiple fixtures
Also call a professional if the repair involves:
- Main water line adjustments
- Pressure regulator replacement
- Pipe replacement or structural modifications
These repairs may require permits or specialized tools.
Preventing Sloan Toilet Flushing Problems
Most failures happen gradually. A little maintenance goes a long way.
Simple prevention tips
- Clean the diaphragm every 12–24 months
- Keep the control stop fully open
- Install a sediment filter in hard water areas
- Replace worn rubber parts before they fail
- Check water pressure annually
In commercial settings, I recommend inspecting flushometers twice a year. In homes, once a year is usually enough.
Practical Summary
- The most common reason a Sloan toilet not flushing occurs is a clogged diaphragm or partially closed control stop.
- Start with simple checks before replacing parts — many fixes take less than 15 minutes.
- Low water pressure affects all fixtures, not just the toilet.
- Most DIY repairs cost under $40 and require only basic tools.
- Regular cleaning prevents the majority of flushometer failures.
Conclusion
If your Sloan toilet suddenly stops flushing, don’t assume the unit is broken. In most cases, the fix is straightforward — a quick adjustment, cleaning, or inexpensive replacement part. Start with the control stop and diaphragm, because those two components solve the majority of problems I see in the field. Take your time, shut off the water before disassembly, and test after each step. That methodical approach prevents mistakes and saves money.
Frequently Asked Questions
Why does my Sloan toilet flush weakly?
A weak flush is usually caused by a partially closed control stop, clogged diaphragm, or low water pressure. Start by opening the supply valve fully and cleaning the diaphragm. If multiple fixtures have low flow, check the home’s water pressure.
How long does a Sloan diaphragm last?
Most Sloan diaphragms last 5–10 years under normal residential use. In high-traffic bathrooms, replacement may be needed every 2–5 years due to wear and mineral buildup.
Can low water pressure stop a Sloan toilet from flushing?
Yes. Sloan flushometers rely entirely on water pressure. If pressure falls below about 40 PSI, the toilet may not flush properly or at all. [VERIFY: minimum pressure specification for specific model]
Why does my Sloan toilet keep running after flushing?
Continuous running usually means the diaphragm is worn or debris is stuck inside the valve. Cleaning or replacing the diaphragm typically resolves the issue.
Do Sloan toilets have tanks?
No. Sloan toilets use a flushometer valve instead of a tank. Water flows directly from the supply line using pressure to create the flush.
How do I know if my flushometer is clogged?
Common signs include weak flushing, delayed response, or no flush at all. Inspecting and cleaning the inlet screen and diaphragm will confirm whether debris is blocking the system.